Shiny for Python Routing: How to Add Routes to Your Shiny App

You've created an amazing Shiny for Python app, deployed it, and now are faced with a challenge - How can you provide more info about your app? How can you add a contact form to it? Surely there's a better way than cramming both at the bottom of the single-page application.
There certainly is, and it's called <b>routing</b>. Routing allows you to incorporate multiple pages into your app. Today you'll learn how Shiny for Python routing works with the <code>startlette</code> module. By the end, you'll have a fully-working Shiny for Python application with a charts page and an about page.
<blockquote>Completely new to Shiny for Python? <a href="https://appsilon.com/shiny-for-python-introduction/" target="_blank" rel="noopener">Our guide for beginners has you covered</a>.</blockquote>
Table of contents:
<ul><li><a href="#why-routing">Why Routing in Shiny for Python</a></li><li><a href="#shiny-apps">How to Create Two Separate Shiny for Python Applications</a></li><li><a href="#routing">Shiny for Python Routing with Starlette</a></li><li><a href="#summary">Summing up Shiny for Python Routing</a></li></ul>
<hr />
<h2 id="why-routing">Why Routing in Shiny for Python</h2>
First things first, why is it so critical to have routing in your app? For one thing, it enables proper handling and organization of user requests within the application. In plain English, it allows you to have multiple pages and compartmentalize relevant information.
For example, you may have a home page showcasing your product, a dashboard page that's available only for registered users, an about page that provides more info about you and your product, and a contact page for anyone that wants to get in touch.
Now, combining home, about, and contact pages into a single one is a common practice in web design and development. You don't need routing here.
But the thing is - we're building <b>web applications</b> with Shiny for Python. Charts and server logic likely won't (and shouldn't) get mixed with your landing page. Enter routing.
Python's <code>starlette</code> module will allow us to combine multiple Shiny apps and assign each to an appropriate endpoint, such as <code>/charts</code> and <code>/about</code>.
The good thing is that <code>starlette</code> gets installed automatically when you install Shiny for Python. If you want to be extra sure, or just double check - run this command from the Terminal:
<pre><code class="language-bash">pip install starlette</code></pre>
You now understand why and when routing is necessary, and know on a high level how to approach it in Shiny for Python. Up next, we'll create two Shiny apps and then connect them with <code>starlette</code>.
Let's dig in!
<h2 id="shiny-apps">How to Create Two Separate Shiny for Python Applications</h2>
This is the directory structure we've created, and recommend you make it as well.
<pre>code/
app.py
app_charts.py
app_about.py
</pre>
You can change the file names but remember also to change the Python imports as well.
Let's begin with the tougher one - <code>app_charts.py</code>
<h3>App 1 - Shiny for Python Charts</h3>
This app is all about rendering a Python chart based on an input control. To be more precise, the app allows you to change the number of <i>bins</i>, and the change will automatically trigger the re-rendering of the histogram.
It's nothing fancy and surely something you've seen in the past - but enough for our needs today.
Open the <code>app_charts.py</code> and paste the following code:
<pre><code class="langugage-python">from shiny import ui, render
import numpy as np
import matplotlib.pyplot as plt
import matplotlib_inline
matplotlib_inline.backend_inline.set_matplotlib_formats("svg")
<br>
app_charts_ui = ui.page_fluid(
# Sidebar layout
ui.layout_sidebar(
# Sidebar with the input controls
ui.panel_sidebar(
ui.h2("Page Charts"),
ui.hr(),
ui.input_slider(id="slider", label="Number of bins:", min=5, max=25, value=15)
),
# Main area with the chart
ui.panel_main(
ui.output_plot(id="histogram")
)
)
)
<br>def app_charts_server(input, output, session):
@output
@render.plot
def histogram():
# 500 samples from a normal distribution centered around 100
x = 100 + np.random.randn(500)
plt.title("A histogram", size=20)
plt.hist(x=x, bins=input.slider(), color="gray", ec="black")
</code></pre>
In a nutshell, we have a sidebar layout with the UI input elements in the sidebar, and the chart in the main section.
Notice how we're not wrapping UI and Server in <code>App</code>, and there's a good reason for that - <b>We won't run the app from the <code>app_charts.py</code> file</b>.
Now open <code>app.py</code>, import <code>app_charts_ui</code> and <code>app_charts_server</code>, and wrap both in a call to <code>App</code> from Shiny:
<pre><code class="language-python">from shiny import App
from app_charts import app_charts_ui, app_charts_server
<br>
app = App(ui=app_charts_ui, server=app_charts_server)</code></pre>
That's essentially how you can exclude UI and server logic from the main application file.
Run <code>app.py</code> by running the following command from the Terminal:
<pre><code class="language-bash">shiny run app.py</code></pre>
Visit <code>localhost:8000</code> - here's what you'll be presented with:
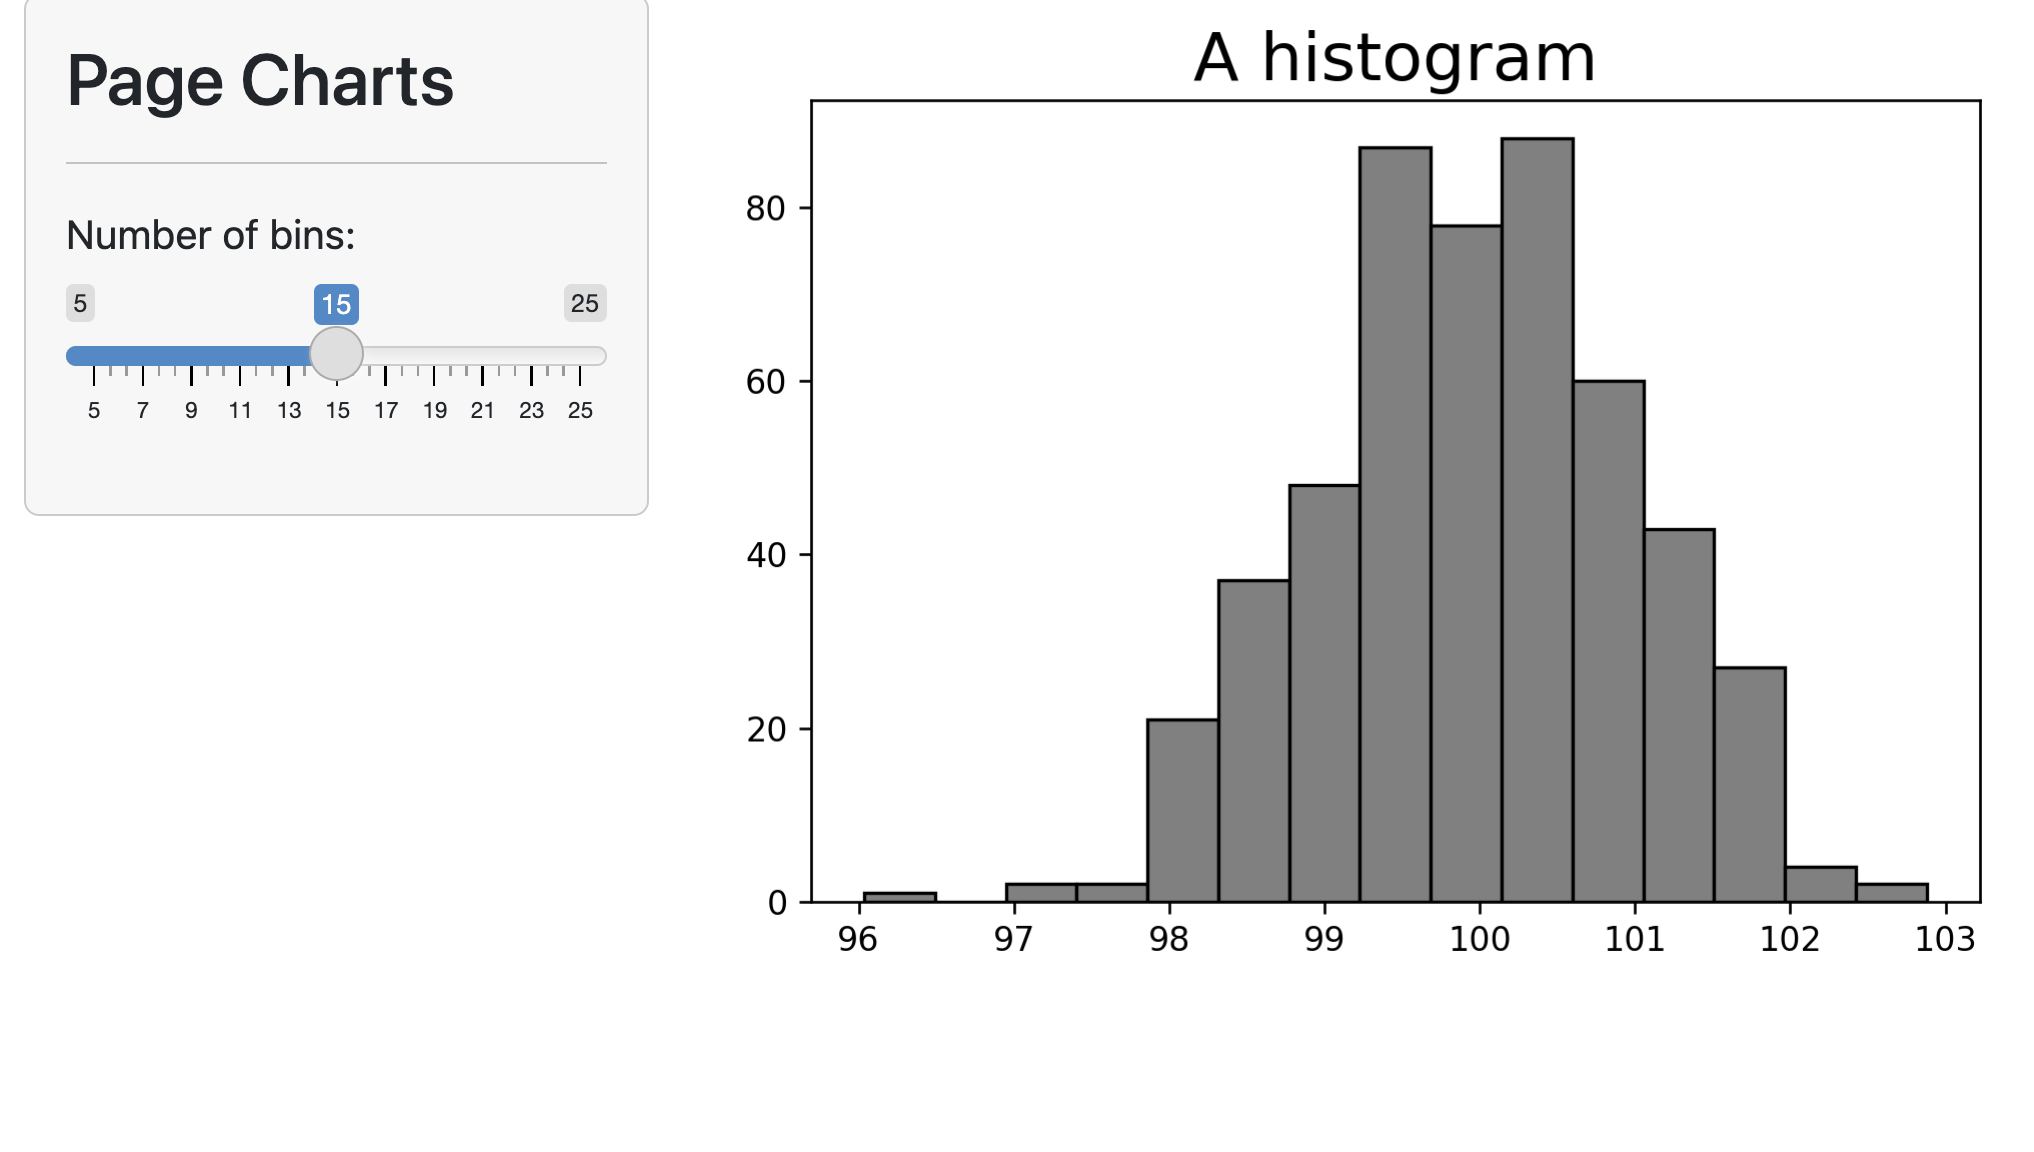
And there you have it. You can now test the interactivity by increasing the number of bins. The app will update immediately:

As you would assume, you can also go the other way around:
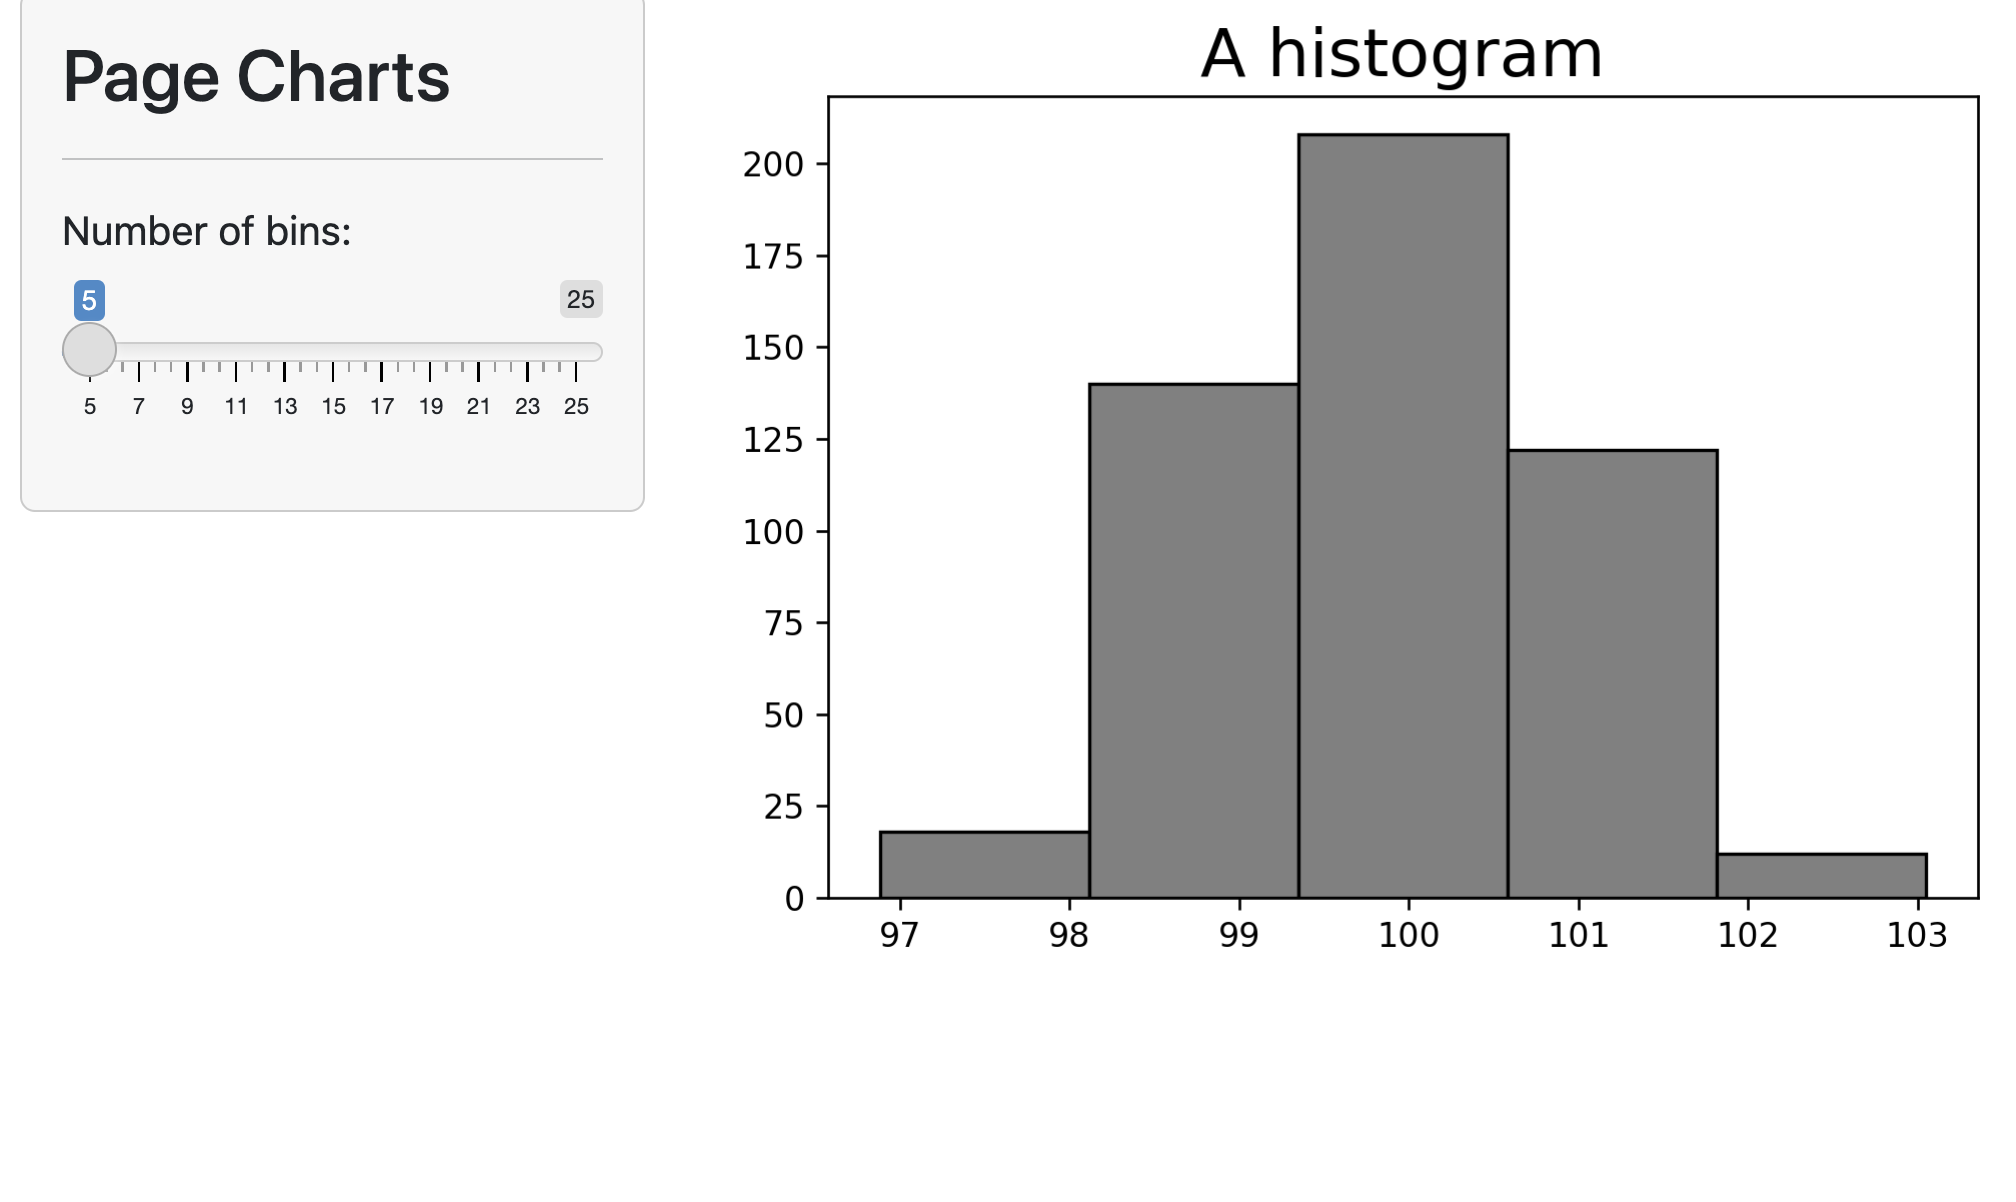
That's our first app done. Let's write out the second one next.
<h3>App 2 - Shiny for Python About Page</h3>
When compared to the previous app, this one will feel like a walk in a park. There's no server logic happening here, as we'll only display two UI elements.
Open up <code>app_about.py</code> and paste the following code:
<pre><code class="language-python">from shiny import ui
<br>
app_about_ui = ui.page_fluid(
ui.h2("About us"),
ui.p("This is the company's about page.")
)</code></pre>
Yup - that's it! You can test if everything works by importing it in <code>app.py</code>, similarly to what we did in the previous section:
<pre><code class="language-python">from shiny import App
from app_about import app_about_ui
<br>
app = App(ui=app_about_ui, server=None)</code></pre>
Run and open the app with the same command used previously - here's what you'll see:

And that's both of our applications taken care of. The question remains - <b>How do we connect them?</b> Let's explore routing in Shiny for Python.
<h2 id="routing">Shiny for Python Routing with Starlette</h2>
Once you have your applications in separate files, combining and assigning them to dedicated routes boils down to a couple of lines of code.
Every change we're about to make will take place in <code>app.py</code>. Open it up and paste the following:
<pre><code class="language-python">from shiny import App
<br># New imports
from starlette.applications import Starlette
from starlette.routing import Mount
<br># Our pages
from app_charts import app_charts_ui, app_charts_server
from app_about import app_about_ui
<br># Make App instance from your pages
page_charts = App(ui=app_charts_ui, server=app_charts_server)
page_about = App(ui=app_about_ui, server=None)
<br># Use Starlette to construct routes
routes = [
Mount("/charts", app=page_charts),
Mount("/about", app=page_about)
]
<br># Declare an app with Startlette
app = Starlette(routes=routes)</code></pre>
The <code>app.py</code> now imports both app content and declares an <code>App</code> for each - just like what we did previously.
Python's <code>starlette</code> module is used to declare a list of routes and assign them to a dedicated endpoint. You then pass this list of routes to a new <code>Starlette</code> application.
The way you run this application now is a bit different. You can't use the <code>shiny run</code> command anymore, since individual Shiny apps are wrapped by <code>Starlette</code> - you'll have to use <code>uvicorn</code> instead:
<pre><code class="langauge-bash">uvicorn <filename>:<appname></code></pre>
In our case, we have a Python file named <code>app</code> and the Starlette application is named <code>app</code>, so the shell command boils down to this:
<pre><code class="langauge-bash">uvicorn app:app</code></pre>
Here's what the app looks like for the endpoint <code>/charts</code>:
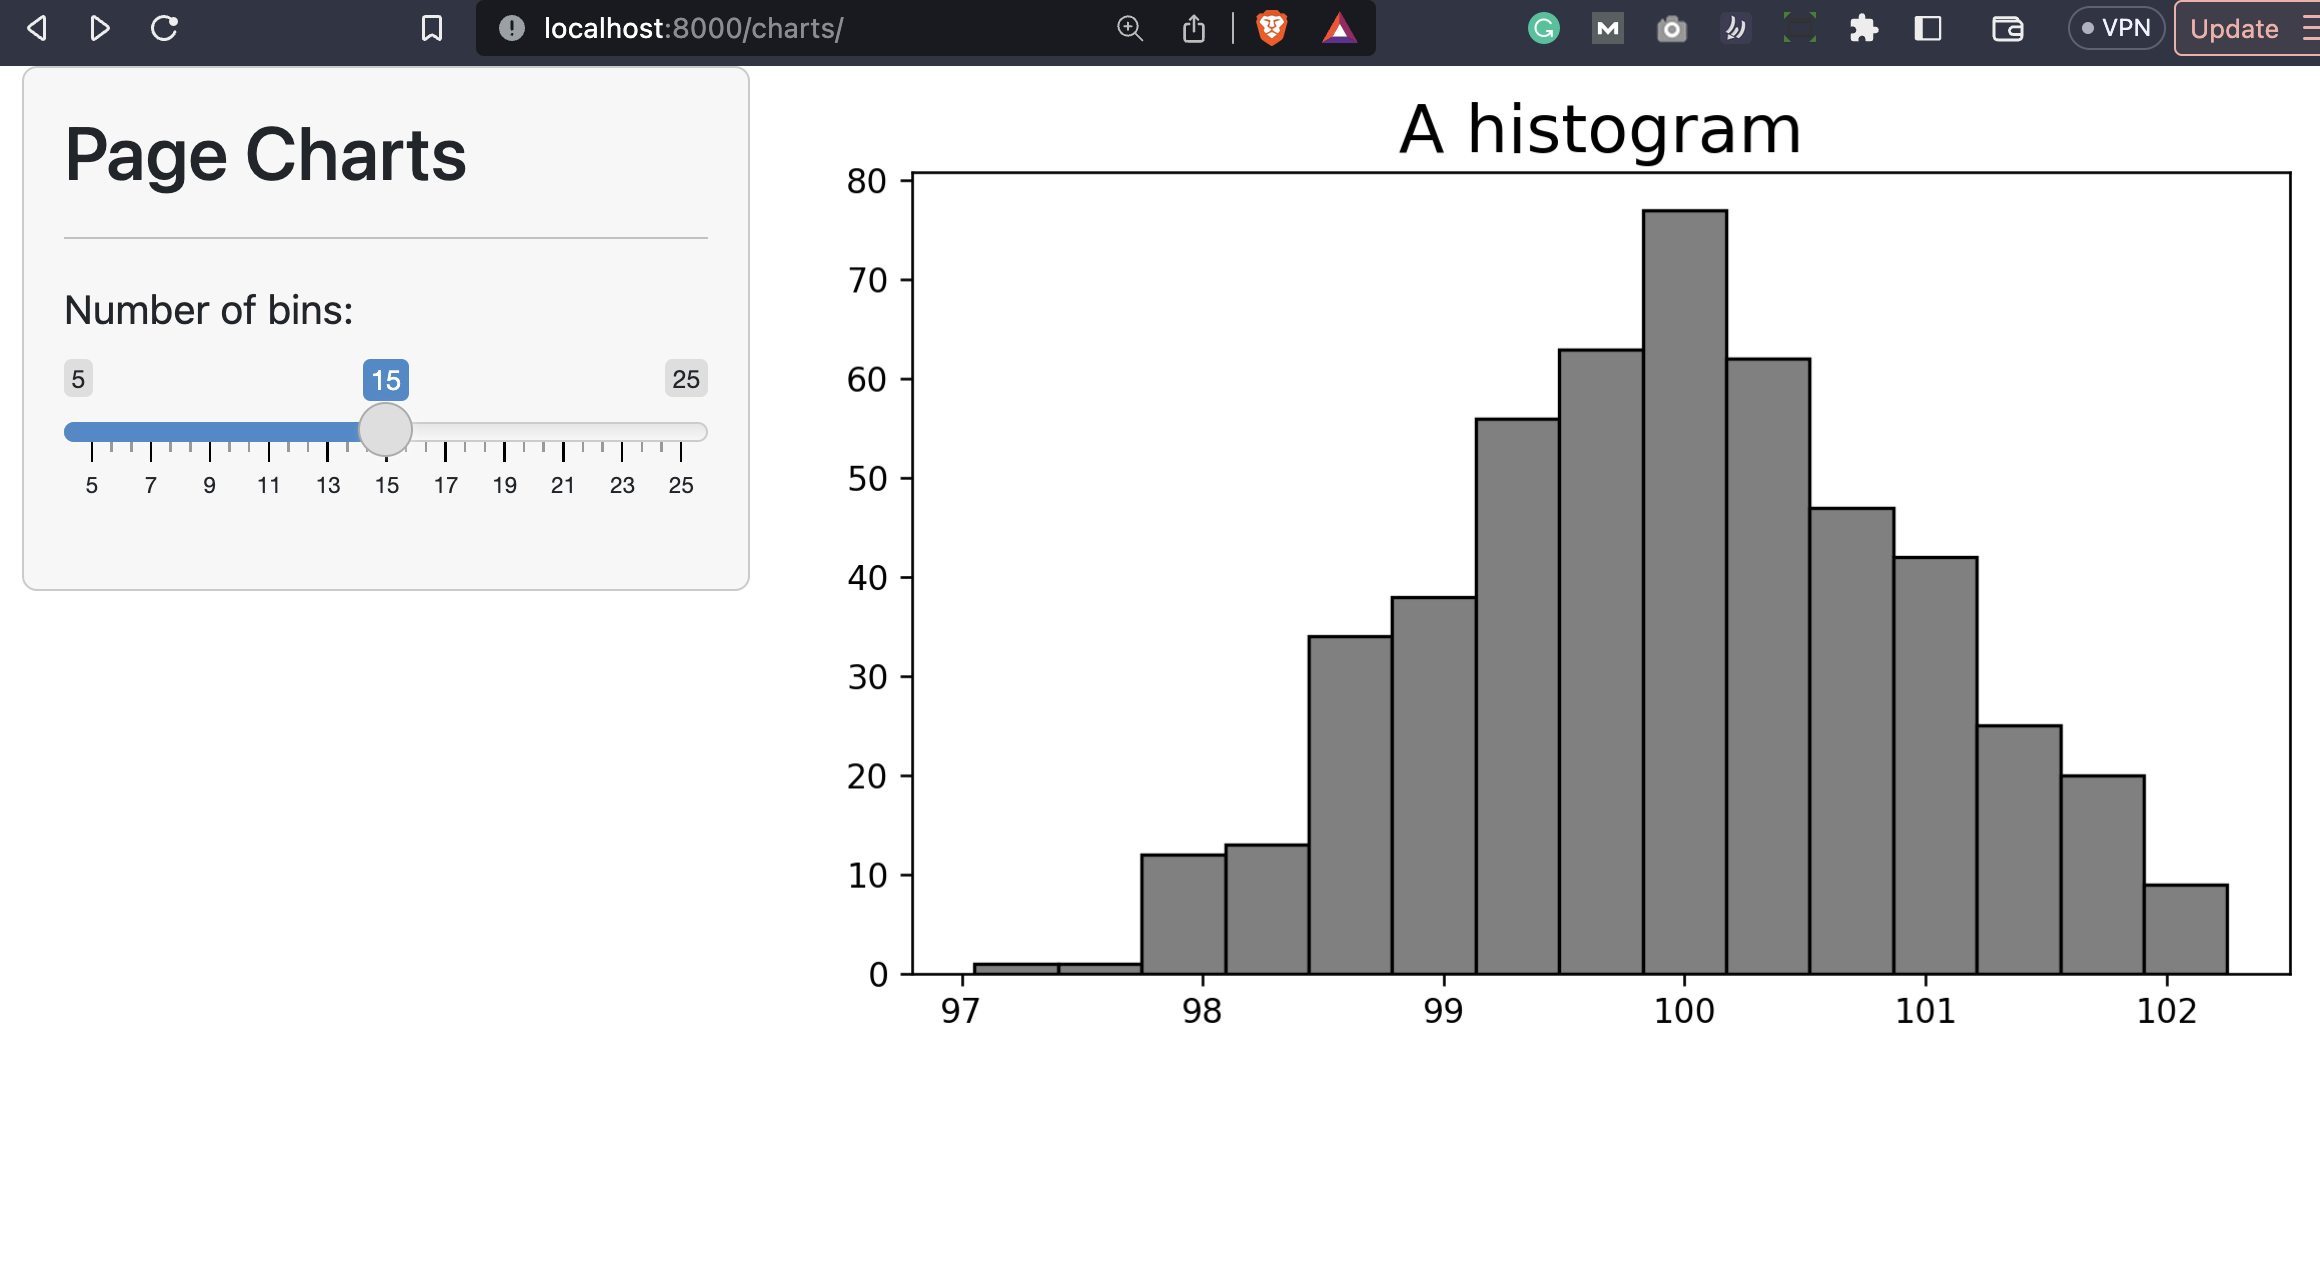
You can switch to the <code>/about</code> endpoint by changing the URL:
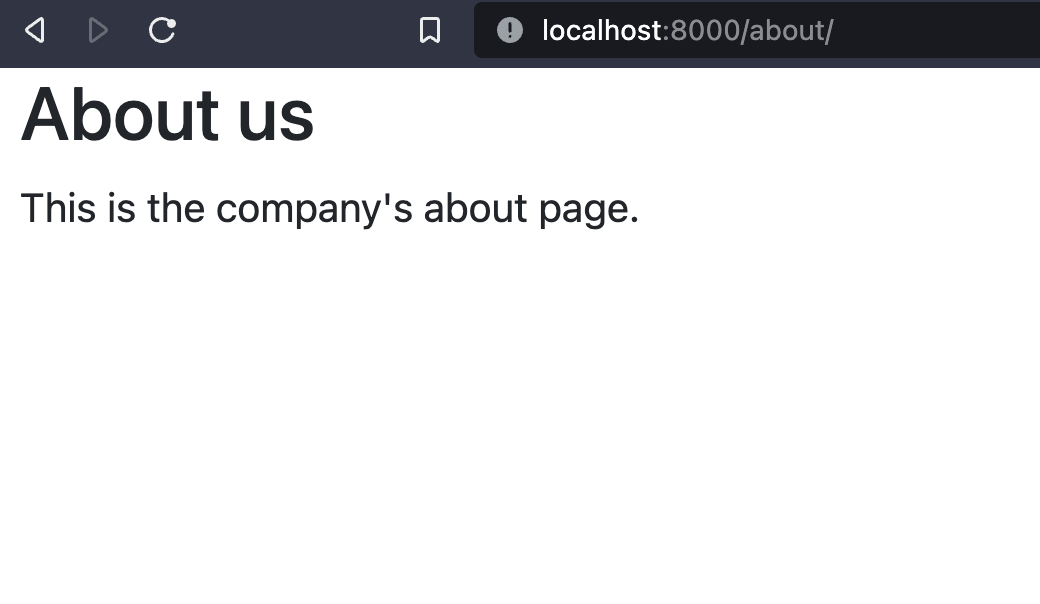
And that's routing for you. Let's make a short recap next.
<hr />
<h2 id="summary">Summing up Shiny for Python Routing</h2>
Long story short - Python's Starlette module makes Segregated Routing easy in Shiny for Python, as you've seen from the article.
The only downside is that you have to change the URL manually to get to a different endpoint. It would be nice to have a navigation menu in Shiny for Python which would make this process more user-friendly. The good news is - That's exactly what we'll cover in the following article, so make sure to stay tuned to the Appsilon blog. If you’re interested in the Integrated Routing for your Shiny for Python application, look out for your shiny.router package, that will be released soon.
What are your thoughts on Shiny for Python routing? Have you found an alternative to Starlette? Let us know in the comment section below.
Do your Shiny for Python applications look dull? Learn how to style them with SCSS.


.png)
